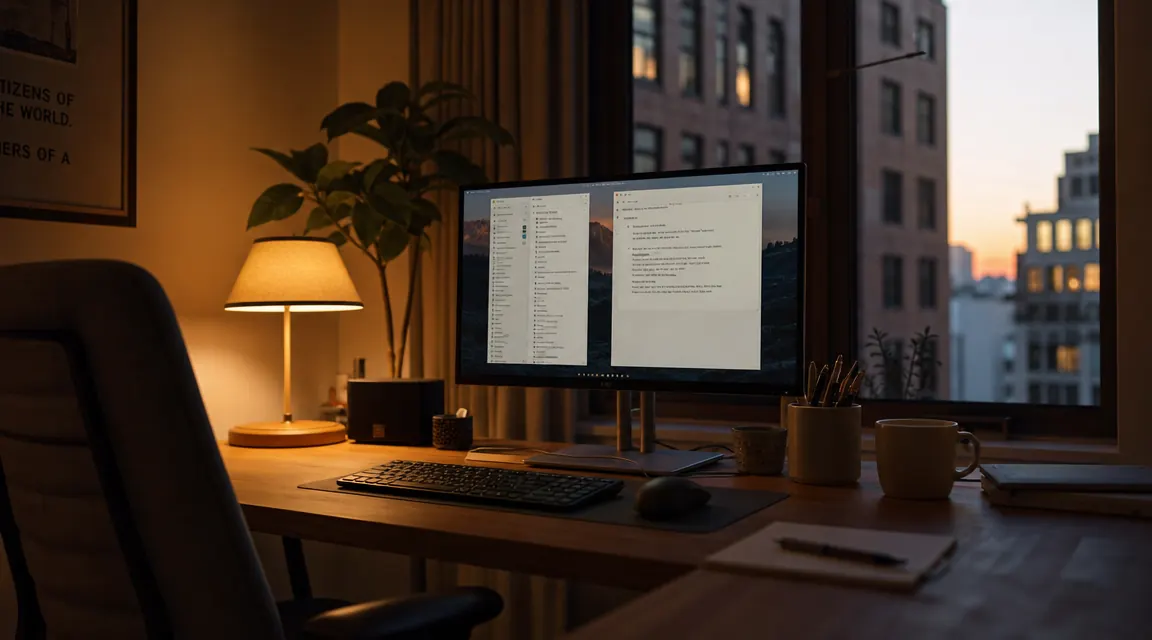
I set up my first home office in the spare bedroom, pointed my desk straight at the window because the view was nice, and spent every afternoon squinting at my monitor while the sun moved across the sky behind it. By 3 PM I had a headache. By 5 PM my eyes felt like I had been staring into a flashlight for eight hours. I blamed the monitor. I changed the refresh rate, lowered the brightness, installed f.lux. None of it fixed the problem because the problem was not my screen. It was where the light was coming from.
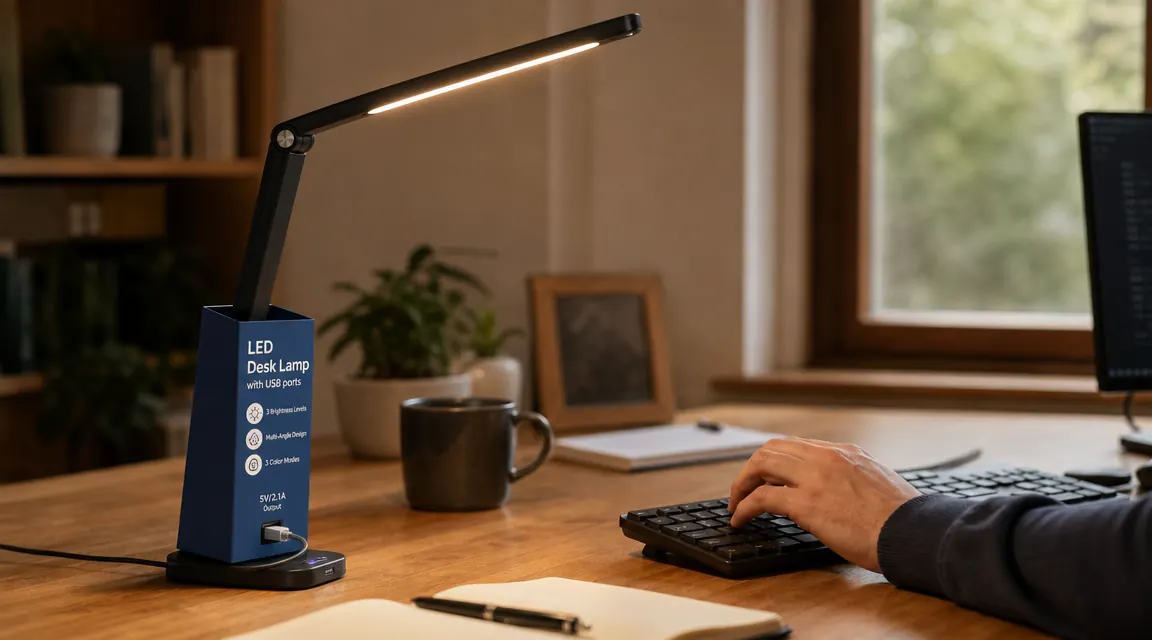
Glare and eye strain in a home office almost always trace back to three mistakes: a window behind or in front of the monitor, overhead lights that bounce off the screen, and a desk lamp pointed at your face instead of your work surface. Fix those three things and you can work a full eight hours without the late-afternoon headache. This guide walks through each fix in the order I would do it, starting with the free adjustments and working up to the one small purchase that pulls the whole lighting setup together. For most setups, that purchase is a quality LED desk lamp with adjustable color temperature and brightness levels. The model I have been using for the past eight months has 5 color modes, 11 brightness levels, and a USB charging port built in. It costs less than a dinner out. You can read a full breakdown in my LED Desk Lamp with USB review.
Your eyes are burning at 3 PM because your lighting is fighting your screen. Here is the desk lamp I use to fix that.
This LED desk lamp has 5 color modes and 11 brightness levels so you can match the light to the time of day. Over 13,900 Amazon reviews. Under $20.
Amazon Check Today's Price on Amazon →Step 1: Position Your Monitor Perpendicular to Every Window
Before you touch a single light switch, rotate your desk. This is the single most effective thing you can do, and it costs nothing. The rule is simple: no window should be directly behind your monitor or directly in front of your face while you are looking at your screen. Both arrangements cause glare. A window behind the monitor creates a bright background that forces your pupils to constrict, making the screen look dim and washed out by contrast. A window in front of you sends direct sunlight straight into your eyes, which is even worse.
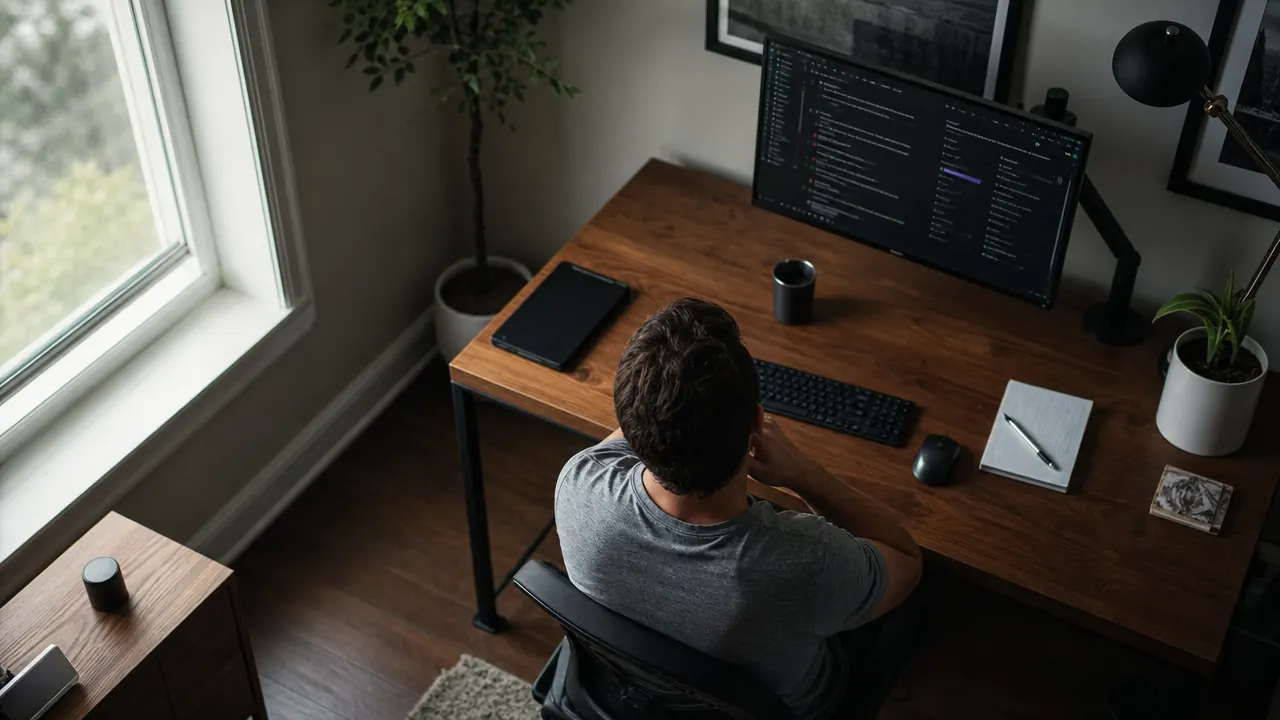
The correct position is perpendicular. Your monitor should face a wall, with the window to your left or right. Natural light then lands on your desk surface and the side of your face rather than on the screen or in your eyes. Left-side window light is ideal for most people because it matches the way a desk lamp is typically positioned (more on that in Step 3). If your room layout makes perpendicular positioning impossible, a quality blackout blind or a diffusing curtain will help considerably, though it is always the second-best solution compared to actually rotating the desk.
One thing worth knowing: the sun moves. A window that is completely harmless at 9 AM can be blasting direct light at your screen by 11 AM as the sun shifts. Pay attention to how the light changes across your workday and use a blind or curtain to block the angle that causes the most trouble, rather than keeping the blind closed all day and working in a dark room.
Step 2: Add Ambient Room Light to Reduce Contrast
A common mistake is working with only a single bright source of light, whether that is a desk lamp, the monitor itself, or a window. High contrast between a bright screen and a dark surrounding room is hard on your eyes because your pupils are constantly trying to adjust between the two levels. The fix is bias lighting, which simply means raising the ambient light level in the room so the contrast between your screen and the space around it is smaller.
The easiest way to do this is to turn on an overhead ceiling light or a floor lamp in the corner of the room. It does not need to be bright. You are not trying to illuminate the room for reading; you are just lifting the background brightness so the screen is not the only light source in your field of view. A warm-toned bulb (2700 to 3000K) works well for this background layer because it creates a relaxed, even glow without competing with the cooler, more focused light from your desk lamp.
If you work in a windowless room or a basement setup, ambient lighting becomes even more important. Without any natural light to fill the room, a single desk lamp pointed at your keyboard can create a cave effect where everything beyond your immediate work surface disappears into darkness. Add a floor lamp behind your monitor pointed at the ceiling to bounce soft light across the whole room, and the difference is immediate.
Step 3: Place the Task Lamp to the Side, Not Behind You
When I first added a desk lamp to my setup, I put it directly behind my monitor, centered on the desk, pointing toward me. That is almost exactly wrong. A light source aimed at your face from the direction you are looking creates direct glare and makes it harder to see your screen clearly. What you want instead is a light that illuminates your desk and keyboard without sending any light into your eyes or onto the screen surface.
Position your desk lamp to the side, slightly in front of you. For right-handed writers, the left side is usually better because it keeps the lamp out of the way of your writing hand. The lamp arm should angle downward toward your desk surface, not horizontally toward your face. This way the light falls on your papers, keyboard, and notebook while leaving the screen unlit by the lamp. If you can see the light bulb or LED panel directly when you are sitting in your normal working position, the angle is wrong and needs to come down.
The LED desk lamp I use has a long, adjustable arm that makes this positioning easy to dial in. I have the base set at the left rear corner of my desk and the head angled down to roughly a 40-degree angle. The light covers my full keyboard and notepad area without any spill onto the monitor surface. It took about two minutes to find the right position and I have not touched it since. You can see the exact model and how the arm adjusts in my full eight-month review.

Step 4: Pick the Right Color Temperature for the Type of Work
Color temperature is measured in Kelvin and it affects both how easy it is to focus and how your eyes feel over a long session. Cool light (5000 to 6500K, labeled daylight or cool white) is high-energy and mimics midday sunlight. It tends to increase alertness and works well for detail-heavy tasks like reading documents, coding, or editing photos where you need to see fine distinctions clearly. Warm light (2700 to 3500K, labeled warm white or soft white) is lower energy and easier on the eyes during the evening hours when your body is starting to wind down toward sleep.
The desk lamp I use has five color modes spanning the range from warm to cool, which means I can switch based on what I am doing and what time of day it is. In the morning I run it at 5000K for a clean, crisp working environment. By mid-afternoon I often drop to a neutral 4000K. After 7 PM I switch to the warmest setting to avoid telling my brain it is noon when it should be thinking about dinner and rest. This flexibility is the main reason I prefer a lamp with multiple color modes over a single-temperature option.
If you are buying a desk lamp for the first time and want a single setting that works across most of the day, aim for 4000K. It sits right in the middle of the spectrum, bright enough for focused work but not harsh enough to feel clinical. Many budget lamps only offer one fixed temperature in this neutral range, which is a reasonable compromise if you do not want to think about switching modes throughout the day. See the 10 reasons an eye-care desk lamp matters for a deeper look at why color temperature specifics add up over a workweek.
Step 5: Control Brightness Based on the Time of Day
Even the right color temperature at the wrong brightness level will tire your eyes. The goal at any given moment is to have your desk lamp brightness roughly match the ambient brightness of the room. In the morning with full natural light coming through windows, you may not need the desk lamp at all, or only at its lowest setting. On an overcast day or in the early evening, you need more lamp output to fill in what natural light cannot provide. The mismatch in either direction, too bright or too dim relative to ambient, is what causes the squinting and the end-of-day headaches.
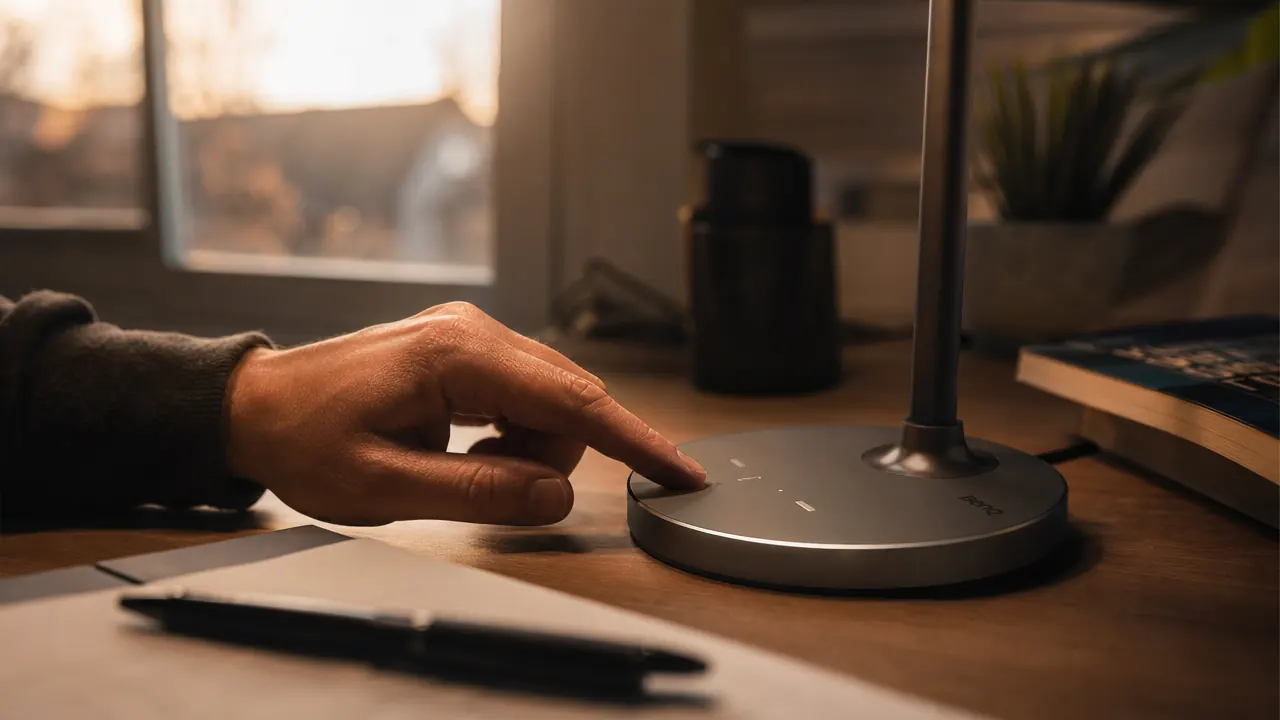
The LED desk lamp I use has 11 brightness levels controlled by a simple touch sensor on the base. That might sound like more levels than you need, but in practice I use about four distinct settings across the day: low for bright mornings, medium-low for typical daytime work, medium for overcast or afternoon, and medium-high for evening sessions. Having granular control means I never have to choose between too bright and too dim. The touch control also means I can adjust it without looking away from my screen, which sounds minor until you have used a lamp that requires you to hunt for a side switch in the dark.
One practical note on monitors: most monitors have a brightness setting that defaults to 100% out of the box, which is far too high for indoor use. A good starting point is to set your monitor brightness so that a white page on screen looks roughly as bright as a white sheet of paper on your desk under your desk lamp. Once your lamp brightness and monitor brightness are calibrated to each other, the strain of constant contrast adjustment nearly disappears.
What Else Helps
Beyond the five steps above, a few smaller adjustments round out a comfortable home office lighting setup. An anti-glare screen protector can help if you work near unavoidable reflective surfaces, though good lamp placement removes most of the need for one. A matte monitor finish scatters reflected light more than a glossy panel, so if you are shopping for a new display, that is worth factoring in. Keeping your desk tidy also matters more than you might expect: clutter creates irregular reflective surfaces that bounce light unpredictably toward the screen. A clean desk surface, particularly one that is not white or highly reflective, gives your lamp a stable backdrop to work with. None of these are dramatic changes. They are the kind of incremental improvements that compound across a full workday, and across years of working from home.
Once your lamp brightness and monitor brightness are calibrated to each other, the end-of-day eye strain nearly disappears. It took me too long to figure out that my monitor was set to 100% brightness when it should have been at 40.
Five lighting fixes you can make today, and one desk lamp that handles everything adjustable color temperature, 11 brightness levels, and a USB port for charging.
This is the lamp I have used for eight months in my own home office setup. Rated 4.5 stars across nearly 14,000 reviews on Amazon. Check the current price before it moves.
Amazon Check Today's Price on Amazon →